Showing posts with label Stamp Set - Tiny Tags. Show all posts

Sunday, 20 May 2012

Gift bag & Mini Cards

Hello,

Late posting today as I've not been sleeping too well lately so I allowed myself a slow and relaxing day today.

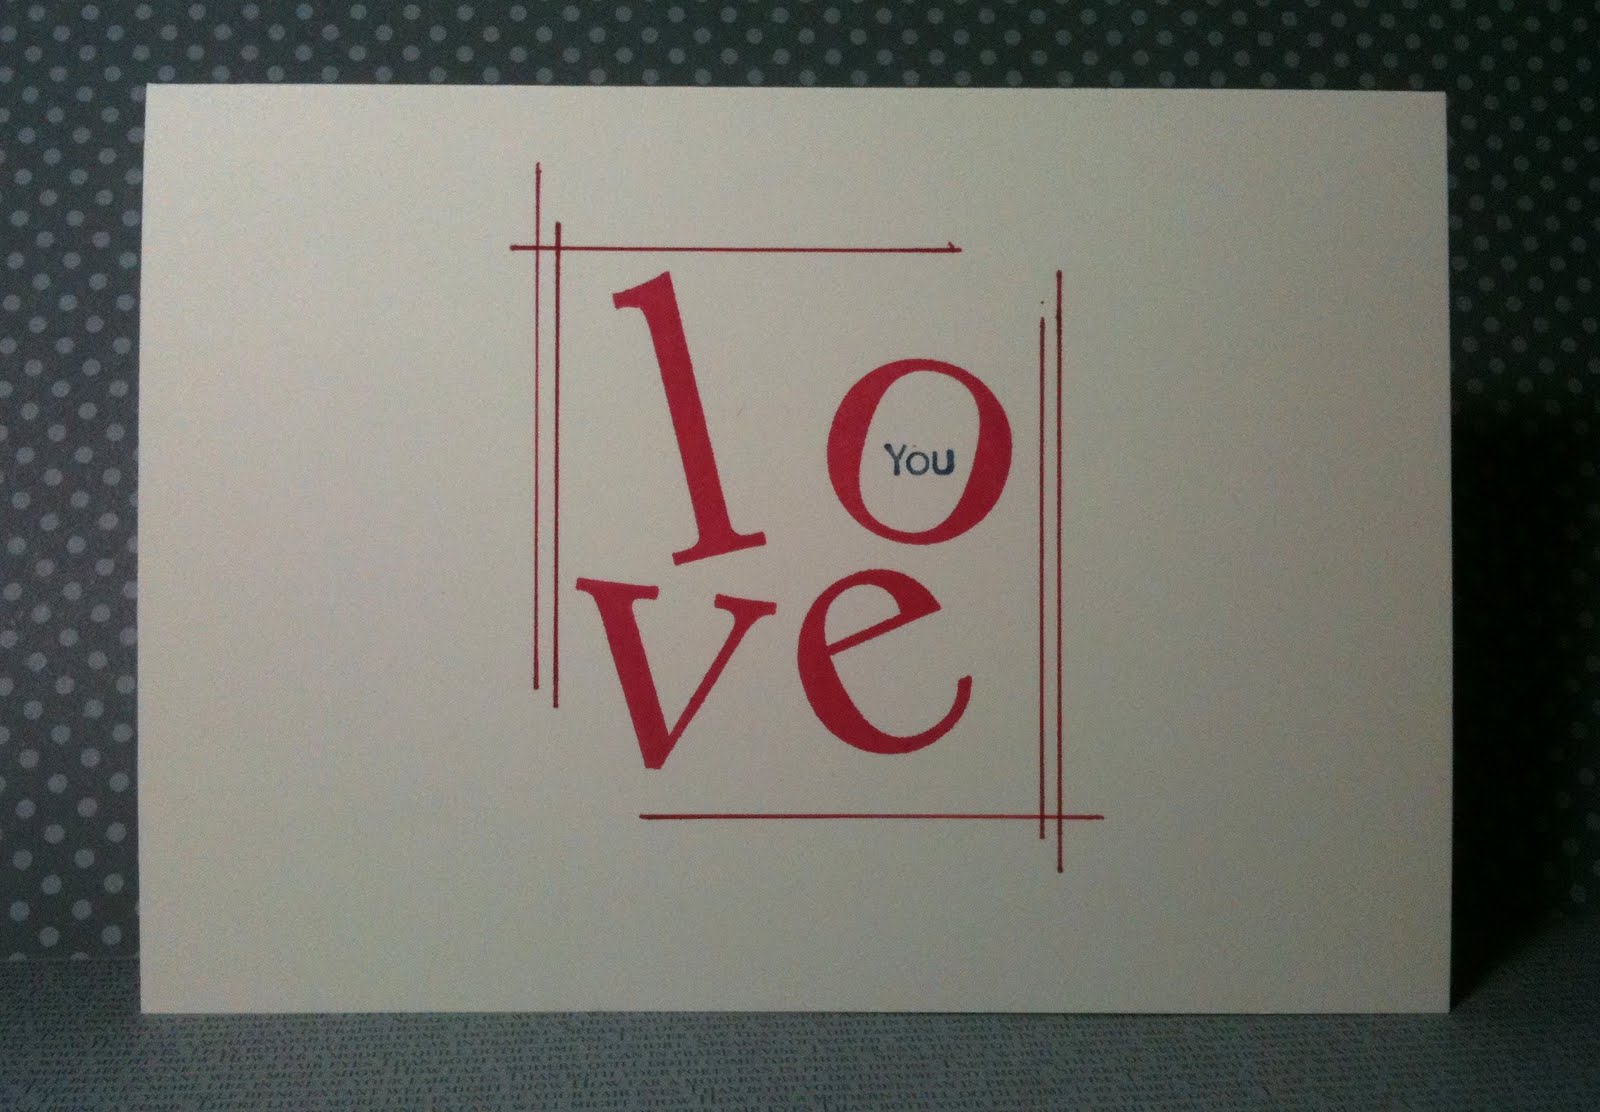
My share for you is a gift bag and some little 3" x 3" cards to go with it, oh, and some hand made envelopes too.


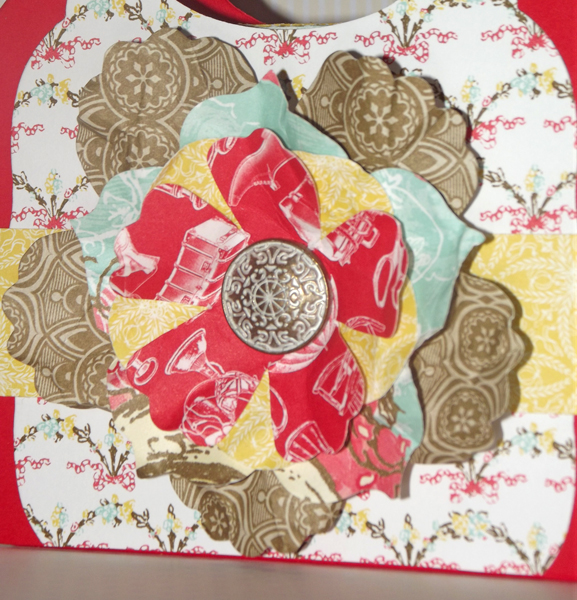
We learnt how to make the bag at our regional training a few weeks ago.  I utilises the wonderful "Labels Collection" framelit dies that are in the current Summer Mini catalogue.


The 3" x 3" cards fit in perfectly, and I made envelopes for them all out of the same DSP using the Diagonal board for "Simply Scored Scoring Tool", that is also in the Summer Mini.


The envelopes start life as a piece of 5" x 5" DSP and scored on the diagonal plate at 2-1/4" on all four sides.  I love making my own envelopes, it gives you total freedom to make any size card you want, but obviously there are some restrictions on how small you can get if you want to put them in the post.

The flower on the gift bag was made up from a combination of dies and punches.


I was really fun to make this project, especially after all the CAS cards I've been making recently and would be a perfect Teachers end of year gift or a little present for a friend or co-worker.

If you would like to learn how to make this gift or found  out more about any Stampin' Up product, then please do not hesitate to get in touch and we can sort out a workshop in the comfort of your own home for you and your friends.

Take care...


Project Ingredients

Stamp Sets : "Mixed Bunch" & "Tiny Tags"
Card stock : "Poppy Parade" & "Whisper White"
Accessories : "Attic Boutique" DSP; Silver Brads & Antique Brads
Colour:   "Soft Suede", "Pool Party" &  "Poppy Parade" classic ink pads
Tools : Tape runner adhesive; Dimensional adhesive; Simply Scored Scoring Tool; Diagonal Scoring Plate; "Fun Flowers" die; "Fancy Flower" punch; "Labels Collection" die & "Jewellery Tag" punch

Monday, 16 April 2012

Monday CASE'd Book

I have a CASE'd card for you today.  For those who are unfamiliar with the term it means that I've copied it, which in the stamping and paper craft world is completely acceptable and in some ways encouraged, just as long as you give due credit to the originator.

My card today was CASE'd from the Stampin' Up's catalogue and the original can be found on Pg 120.


I changed the colour and a few of the embellishments but other than that, it's pretty much the same.  I made this card a couple of weeks ago when I was feeling like I had lost my crafty mojo, so, for me, CASE'ing a card was a great way to get me making something so that I felt inspired again.  That's the great thing about the catalogue, it's got so many great projects in there to inspire and spark off the imagination.

Have a great day .... xx


 Project Ingredients

Stamp Sets : "Aviary";  "Happiest Birthday Wishes" & "Tiny Tags"
Card stock : "Whisper White" & "Night of Navy"
Accessories : Patterns Designer Series paper Stack in Regals.
Colour:  StazOn Ink; "Pool Party"; "Island Indigo" & "Poppy Parade" classic ink pads
Tools : Dimensional Adhesive; Tape runner adhesive;  "Dotted Scallop Ribbon" border punch; "Tag" punch; "Corner" Punch

Friday, 2 March 2012

Birthday collection for a special friend - The gifts

Yesterday I shared with you the card I made for my upline and good friend, Sarah-Jane, today I am sharing the gifts I made for her.

As you can see I kept the "Domestic Goddess" DSP theme going on her gifts too.

First I made a bag and put in some chocolate, well, it's not a birthday without some chocolate!

Bag overview

Close up on sentiment on bag

I also made her a box to house her main gift.


It was a "pizza" style box with a belly band made using the "Lace Ribbon border" punch and the "Top Note" die.

View from above


This view shows want the box looks like from the side when the belly band is on.

.. and the gift all wrapped up fits in perfectly.

I had lots of fun making these projects, just hope Sarah-Jane realised that they where made with love for such a special friend. ... xx


Project Ingredients

Stamp Sets : "Tiny Tags"
Card stock : "Basic Gray" & "Whisper White" 
Accessories: Basic Pearls; "Domestic Goddess" DSP; Designer Printed Brads; Metallic Brads &  "Pool Party" 3/8" Ruffled Ribbon 
Colour : StazOn Ink
Tools : "SNAIL" adhesive; Glue Dots adhesive; Big Shot machine; "Top Note" die; "5-Petal Flower" punch; "Fancy Flower" punch; "Jewellery Tag" punch; "Lace Ribbon border" punch & "Boho Blossoms" punch.

Sunday, 29 January 2012

Scallop Square box CASE

Morning,

Thank you for dropping by my blog.  Today I'm sharing a project that I CASE'd from a photo I saw on some ones blog of some projects that where showcased at a Stampin' Up! event in the US recently.

It's a little box made from the Scallop Square die for the Big Shot.


The Scallop Square die is made by Sizzix exclusively for Stampin' Up!  The little box is approximately 2 1/2" x 1 1/2", with a height of approximately 1 1/2" to the top of the scallop.  The little cards inside are 2 1/4" squared.  The images on the little notecards/tags come from the FREE Sale-a-bration set, "Sprinkled Expressions".  This is one of the sets available for free when you place an order for £45 or more during Sale-a-bration. Please click on the link to the left (and a little up)  for more details.


As I mentioned, I saw this project from a photo taken at a Stampin' Up! event.  That's one of the many great things about being a Stampin' Up! demonstrator, they are always trying to help you with ideas and training both via the demonstrators exclusive website and events.

If you've ever been interested in becoming demonstrator, then now is the perfect time as during Sale-a-bration anyone who signs up to be a demonstrator can choose any stamp set of any value from the current catalogues absolutely free.  If you would like more information on this or any thing to do with Stampin' Up!, then please do not hesitate to get in contact with me for a chat, my email address is in the top left hand corner.

Oh, and if you are reading this before around 2pm today, (Sunday 29th Jan), then please pop back later this afternoon as I will have a tutorial on how to put this adorable little box together, and you'll get to see these cute little notecards/tags in a bit more detail.

Until later... xx


Project Ingredients

Stamp Sets : "Sprinkled Expressions" - FREE Sale-a-bration set & "Tiny Tags"
Card stock : "Whisper White"; "Poppy Parade"; "Pool Party"; "Calypso Coral"; "Lucky Limeade"; "Wisteria Wonder" & "Island Indigo"
Accessories :1/2" Stitched Ribbon in "Poppy Parade"
Colour : "Poppy Parade"; "Pool Party"; "Calypso Coral"; "Lucky Limeade"; "Wisteria Wonder" & "Island Indigo"
Tools : "SNAIL" adhesive; Dimensional Adhesive; Glue Dot; 3/4" Circle punch;  Big Shot machine & "Scallop Square" die,

Thursday, 3 November 2011

Countdown to Christmas ~ Wk 11

Hello again,

A really quick share with you today.

Fancy Fold card

This is a fancy star fold card that is really easy to do from 1 sheet of 12" DSP. I used "Holly Berry Bouquet" speciality paper for mine.


Close up of the some of the detail, I used a couple of mini tags punched using the Jewellery tag punch


and when the card is opened...


I will put together a tutorial on how to fold this card as soon as life allows :o) but in the meantime, if you would like me to come to your home and demo this card, (or anything else pretty paper related),  to you and your friends, please do not hesitate to get in contact.

take care...  xx

 
Project Ingredients

Stamp Sets : "Curly Cute" & "Tiny Tags"
Card stock : "Very Vanilla"
Accessories : "Holly Berry Bouquet" speciality DSP, 1/4" Grosgrain ribbon in "Chocolate Chip" (Retired - could use "Early Espresso" instead); Linen thread;
Colour : "Chocolate Chip" & "Wild Wasabi" classic ink pads & StazOn Ink
Tools : "SNAIL" adhesive; "Jewellery Tag" punch

Monday, 3 October 2011

Playing with the new products

Hello there,

Hope you are well and were about to take advantage of the very warm weather we've been having, personally, I don't like the heat, much prefer the days where you have to wrap up warm and from the weather reports, those days are just round the corner - yay! well, for me anyway.

Today's share is another card we made when I visited up upline Sarah- Jane  a couple of weeks ago when we where playing with some of the fabulous new products in the 2011/12 Idea's book & Catalogue.


It was made using two of the new 'In Colors' ; namely, "Pool Party" & "Calypso Coral" which work perfectly together.  If you are every not sure what colours to put together you should defiantly invest in a 'Color Coach' which has all the current colours detailed with suggestions on creative combinations so you are never without ides about what colour goes with what.  I love it as it gives colour combo's that I would have never thought about for myself in a million years but you trust the suggestion, give it a go and create something fabulous.

If you would like more information about the 'Color Coach' or any Stampin' Up! products, or would like to book a demonstration for you and your friends, then please do not hesitate to get in contact.

take care ... xx


Project Ingredients

Stamp Sets : "Aviary" Stamp Set (* NEW *) & "Tiny Tags" Stamp Set.
Card stock : "Pool Party"; "Calypso Coral" (* BOTH NEW *) & "Whisper White" cardstock
Accessories : Silver Brads
Colour : "Pool Party"& "Calypso Coral" marker pens (* BOTH NEW *)
Tools : Tombow Mono Adhesive; Big Shot Machine; "Jewerly Tag" punch; "Lace Ribbon" border punch (* NEW *); "Perfect Pennants" Die (* NEW *)
 

Tuesday, 14 June 2011

"Less is More" 1 layer Challenge card

Hello,

Still having problems with my blog interface, but hopefully this post will actually post!

Today I would like to share with you a card I made to enter into the "Less is More" challenge. The challenge was to make a 1 layered card that includes a frame of some sort.


I used Very Vanilla card stock for the card blank and to stamp the word "love" I used "Schoolbook Serif alphabet" stamps and Rose Red classic stamp pad. The tiny "you" within the 'O' is from the "Tiny Tags" stamp set and I used Night of Navy marker pen. I also used a Rose Red marker pen to draw the lines that make up the 'frame' part of the card.

That's all for now as the interface I'm using is driving me up the wall!!

Take care xx